Showing posts with label Quilt-Along. Show all posts

Quilt-Along moving along

Making progress on Quilt-Along
All borders added.  Decided since my borders are only 2.5 inches wide, I'm going to do the minimal quilting on them, so I am doing a line half way between the border seam and the outside seam.  I'll be using the walking foot for this and the seam guide.
Remove the basting pins of the top border.  Lay flat on your cutting table the top border of your quilt.  Fold over toward you the border and the batting.

Now fold the back of the quilt under at the seam.  You want the backing as far as you can get it from the cutting edge which will be the edge of your border.


Fold the front and the batting back up and align the edge of your ruler with the edge of your border.  Trim away the excess batting.


Bring you backing up now so that it is smooth and is like the photo. 


Now trim your backing to 3/4" or 1" all across the border.  This will be your binding.  Do this for the other three sides.  Repin your border's edge through the three layers. We will now quilt the border.


Borders are being added on Fabric Tuesday

My quilt-along quilt is growing.  Three sides of border nearly done.  Measure in center of quilt to cut the borders.  This is the first time I used this low loft Fairfield batting and it has scrunched up the quilt more than with warm and natural upon quilting, so I have to ease in a bit on this third border.  I'll just stretch the quilt a tad to match them.  Gonna be pretty pink - love it. I use to say I didn't like pink, but since it's a different shade of red (at least to me it is) that what's not to like!

I am linking this at Quilt Story's Fabric Tuesday....see sidebar button!

A Bump in the Road.

There has been a bump in the road to moving forward in the Quilt-Along.  DH wants the federal tax info by Mar 1 so I'm going to have to set the next step on the back burner while I get that Schedule C done.  Hope sooner than later. For those who may need to get their QAYG done now, adding borders is the same as adding a row, but I add all four before I quilt them.  It's easy as they are on the edge.  Then I bind by cutting off the excess batting and bringing the backing forward and folding in half and sewing it down as the binding.  Pictures to come.

In the meantime - I won the blocks at our Guild for the Scrappy Orphan Posie Block!  Now I have 13 of them to play with - another UFO!  LOL.

Quilt-Along Step 4

Step 4:
   1.  Take row D and measure its length.  Mine was 30 1/2" long.  My row C is now 30 1/4" long due to the quilting - Remember when I measured it in step 2 and it was 30 1/2" long?  I'll be able to stretch row C (I'll pull on the bottom a little in whatever square needs it.) the quarter inch to make the seams intersect and the vertical rows to match.  Here is the new row next to the one I've quilted"
2.  Put the new row wrong side up on your quilted row. Check that the seams on the row you are adding are pressed the opposite of the first row.  Match the seams and pin.  Roll up the quilt on the right side as before.
Note: Here is a photo of how I fold the quilt in an accordian pleat (the part that would be on my lap) to make machine quilting easier.  It is weight that makes it difficult to quilt, so try to keep it level on your lap and left side.  Hanging over the sides makes it harder to quilt evenly.
3.  Starting at the top, and using a walking foot, position your quilt to start stitching after bringing the bobbin thread up to the top of the quilt.  Sew your seam with a steady speed - remember the walking foot is doing the pushing, not you.
Here is my added second row smoothed over the batting.
4.  Next we pin baste the row before quilting.  Lay the quilt with the new row on your left( if you're right handed). Gently pull the two layers away from the seam you just made and pin the row down:

This will keep wrinkles from forming when you quilt it. Once you've pinned it turn it over and run your hand over where you will quilt. Photo below shows you a wrinkle I found on the back.


I remove the pin, smooth out the area and reset the pin.  You might have to do a few of these.  And when you turn it over, check the front also that it's smooth.   Quilt your added row as before.  You now have the technique in full.  You can do all the remaining rows in the same fashion, just flip the quilt when you are done with the right side, and do the rows on the left starting your seams at the bottom of the vertical row.  This keeps the bulkiness of the quilt to your right.  I'll post again next Thursday with the borders and to give you time to do your rows.  But you can email me any questions whenever you like.  See you then.

Step #3 of Quilt-Along

For Step #3 we'll begin with our 38" square of backing fabric.  Iron it nicely, fold in half and iron the crease at the outer edge.  Do this for both sides.  We'll use these small creases to mark the halves of our quilts.   Now I laid the back on my carpet with wrong side up.  Next I placed my 38" square of batting on top of it.  Now I went around the edges with safety pins and pulled the back tight through the batting by sticking the pins into my carpet pad.  If you use a table to sandwich, you can use double sided masking tape about an 1" from the edges of the backing to make it somewhat tight. This is an important step to reduce pleating of your back when you are quilting.

Our quilt has 5 vertical rows of blocks.  Take the middle vertical row (C in my case) and measure it.  Mine is 30 1/2".  Make a note of yours. I centered the row on my sandwich 3 3/4" from the top and bottom and    15 1/4" from side to side.  If you are using 3 rows, use row #2.  If an even number of rows, email me. See photo below. 
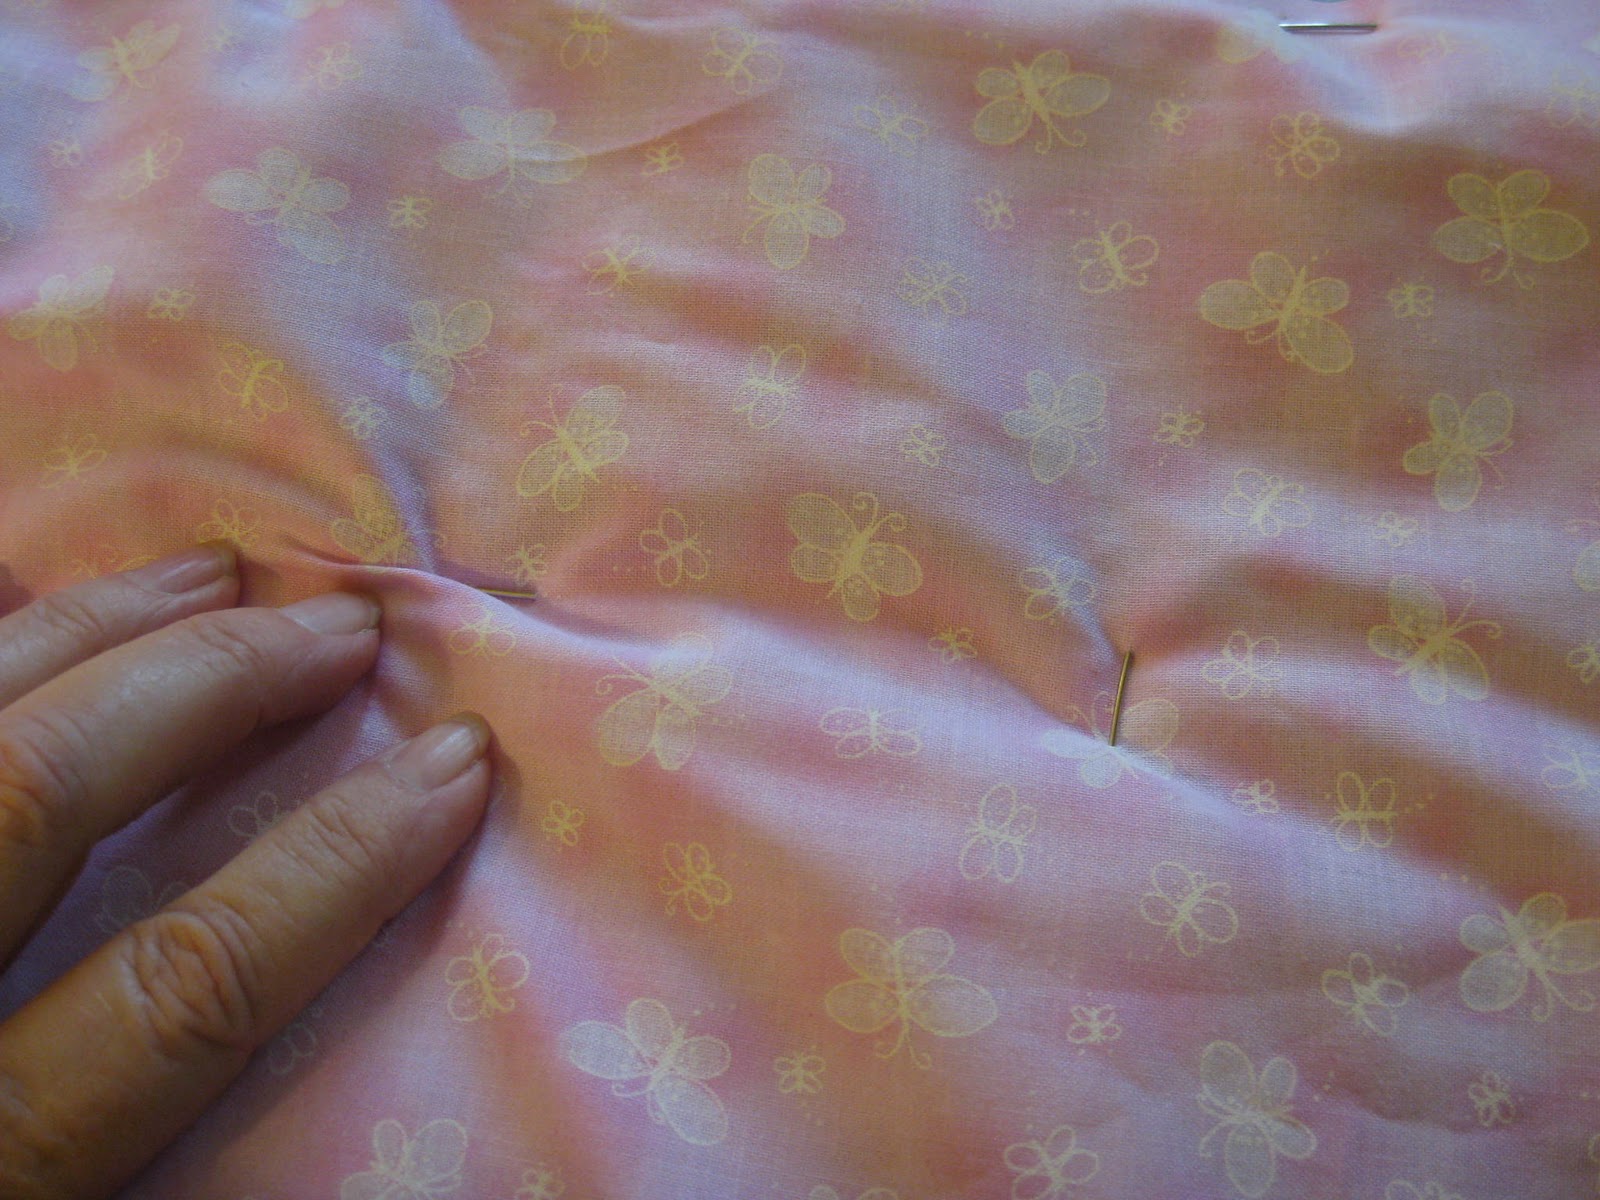
You can see the pins on the edges. We left room for the border all around. Now pin your row at the corners,  along the seams and in the center of the block. Once that is done, I take out the pins and pin them all around the edges of the quilt to stabilize the sandwich.  Turn the sandwich over and run your hand on the pinned back to see it if is smooth.

Take your sandwich to your sewing machine.  When I quilt, I use the same thread in top and bobbin, a Microtex 75/11 needle, feed dogs down, a single needle plate, and a open darning foot. I am going to do a large meander over the row staying about 1/2" away from all the edges.  Don't worry - as you add more rows and quilt, you can fill in spaces that may look empty.  This is to anchor your sandwich and get the hardest part of the quilt quilted.

You could also use a foot with a plastic foot. Note:  If you've never quilted on your machine, stop and make a 12" square sandwich to practice.  Pin your sandwich around the edges and one safety pin in the center.  Set up your machine.  Bring your bobbin thread to the top of your sandwich and take a couple of tiny stitches to anchor the threads.  Now with your hands on both sides of the foot - start to sew and use your hands to guide the sandwich going at a steady speed.  When you start to do a curve, slow down a bit so you won't get big stitches.  There are a lot of good how to machine quilt books out there.  I started by quilting small charity quilts and haven't looked back. Hey I've still got a lot to learn, but with the practice, they are starting to look better and better.  That's all it takes - practice.  Here's a site to see a machine quilter in action:  http://www.daystyledesigns.com/stippling.htm

Or you might like to do straight line quilting.  I do all the above but use my walking foot and guide.  See below:
This will give me straight row quilting.  By lining up the guide 1/4:  from the edge I get a straight lines through  all the blocks evenly spaced. Reverse the guide for the other side of the blocks. If you use the edge of the blocks you'll have a nice pattern of spaced lines. Whatever you want to do.  With this method all you need to do is two lines and you're done with the row.

Roll up your quilt on the right side of your row of blocks and place it under the needle.  Bring your bobbin thread up to the top, and take a few tiny stitches to anchor your threads.  Meander at a steady speed over your block leaving a 1/2" free of quilting on all the edges and guiding the row with your hands.  Here is my completed first row - took about 10 minutes.  Ps:  I put the tape from the top and bottom blocks of the row and stuck them to the batting to remind me which end was up.

That's it for this step.  If you have questions, please email me.  See you friday - Thursday is going to be way buzy for me. 
 

Ready for Step #2 of our Quilt-Along?

Ready for Step 2?  You'll find that below.  And for those of you who want to make a smaller quilt, I've added some additional info at the tab "Quilt-Along. 

Step 2:

Here is a photo of my choices:


Once I have my layout, I take masking tape and mark each square with a row and number. This way I keep them in order when I go to sew them.
Here's a sample of row 4: 
 
Yes I moved one block after the first picture! Photos do that to me - they make me see the value of color.

Then I pin one row together so that I can work on one row at a time.


Now you can go sew your blocks into vertical rows. But don't sew the rows together into a top. Here's where this method starts to differ from the conventional quilt process. More on Monday.

I'd love to see your choices.

Starting the Quilt Along

If you read my previous post, you know I now have 2 projects ready to be assembled and quilted. With friends asking me when I'm gonna teach them to "quilt as you go", it seems the perfect time to start.  So if you'd like to quilt-along, go to the Quilt-Along tab at the top of the page and you can read about the first assignment.  I'm making a charity quilt, yours can be the same, a table topper, a wall hanging or whatever you want.  They're going to be between 30 - 36 " square.  Here are some blocks I might use:


And here's a Mr. Linky so that viewing that eye candy will be easy.  Look forward to seeing yours! Why not post a photo of your fabric or blocks? Look forward to seeing yours!

Progrees is Made

Progress is made, at least some.  More blocks were added to the baby quilt I was working on (see previous post). More scraps were used. I...