


I take off the paper from the fused pieces and lay my A pieces in place.

I keep building the applique by added the next piece (B), and so forth. Nothing is fused yet.

And I keep doing that til the whole applique is formed. Now is when I fuse the shape by laying the iron on top of the design for about 3-4 seconds. You just want to lightly fuse it together.

Now you will be able to gently lift it off your teflon sheet and place it on your background.  Here is the back of the unit ready to fuse to the background which is now over the outline of your form. This is what I learned from the Sulky instructor. And works fine except for dark backgrounds where you can't see your pattern. Enter Zena Thorpe.
 Here is the back of the unit ready to fuse to the background which is now over the outline of your form. This is what I learned from the Sulky instructor. And works fine except for dark backgrounds where you can't see your pattern. Enter Zena Thorpe.
Zena had us make 3 copies of the pattern: one to cut out to use as our outline, one for the reverse pieces and one for reference. So here I have placed the cut out outline over my 7" square of black. I then take my unit of applique and lay it in the outlined space, fuse the unit to the background (8-10 seconds, hot iron, no steam), and remove the paper.
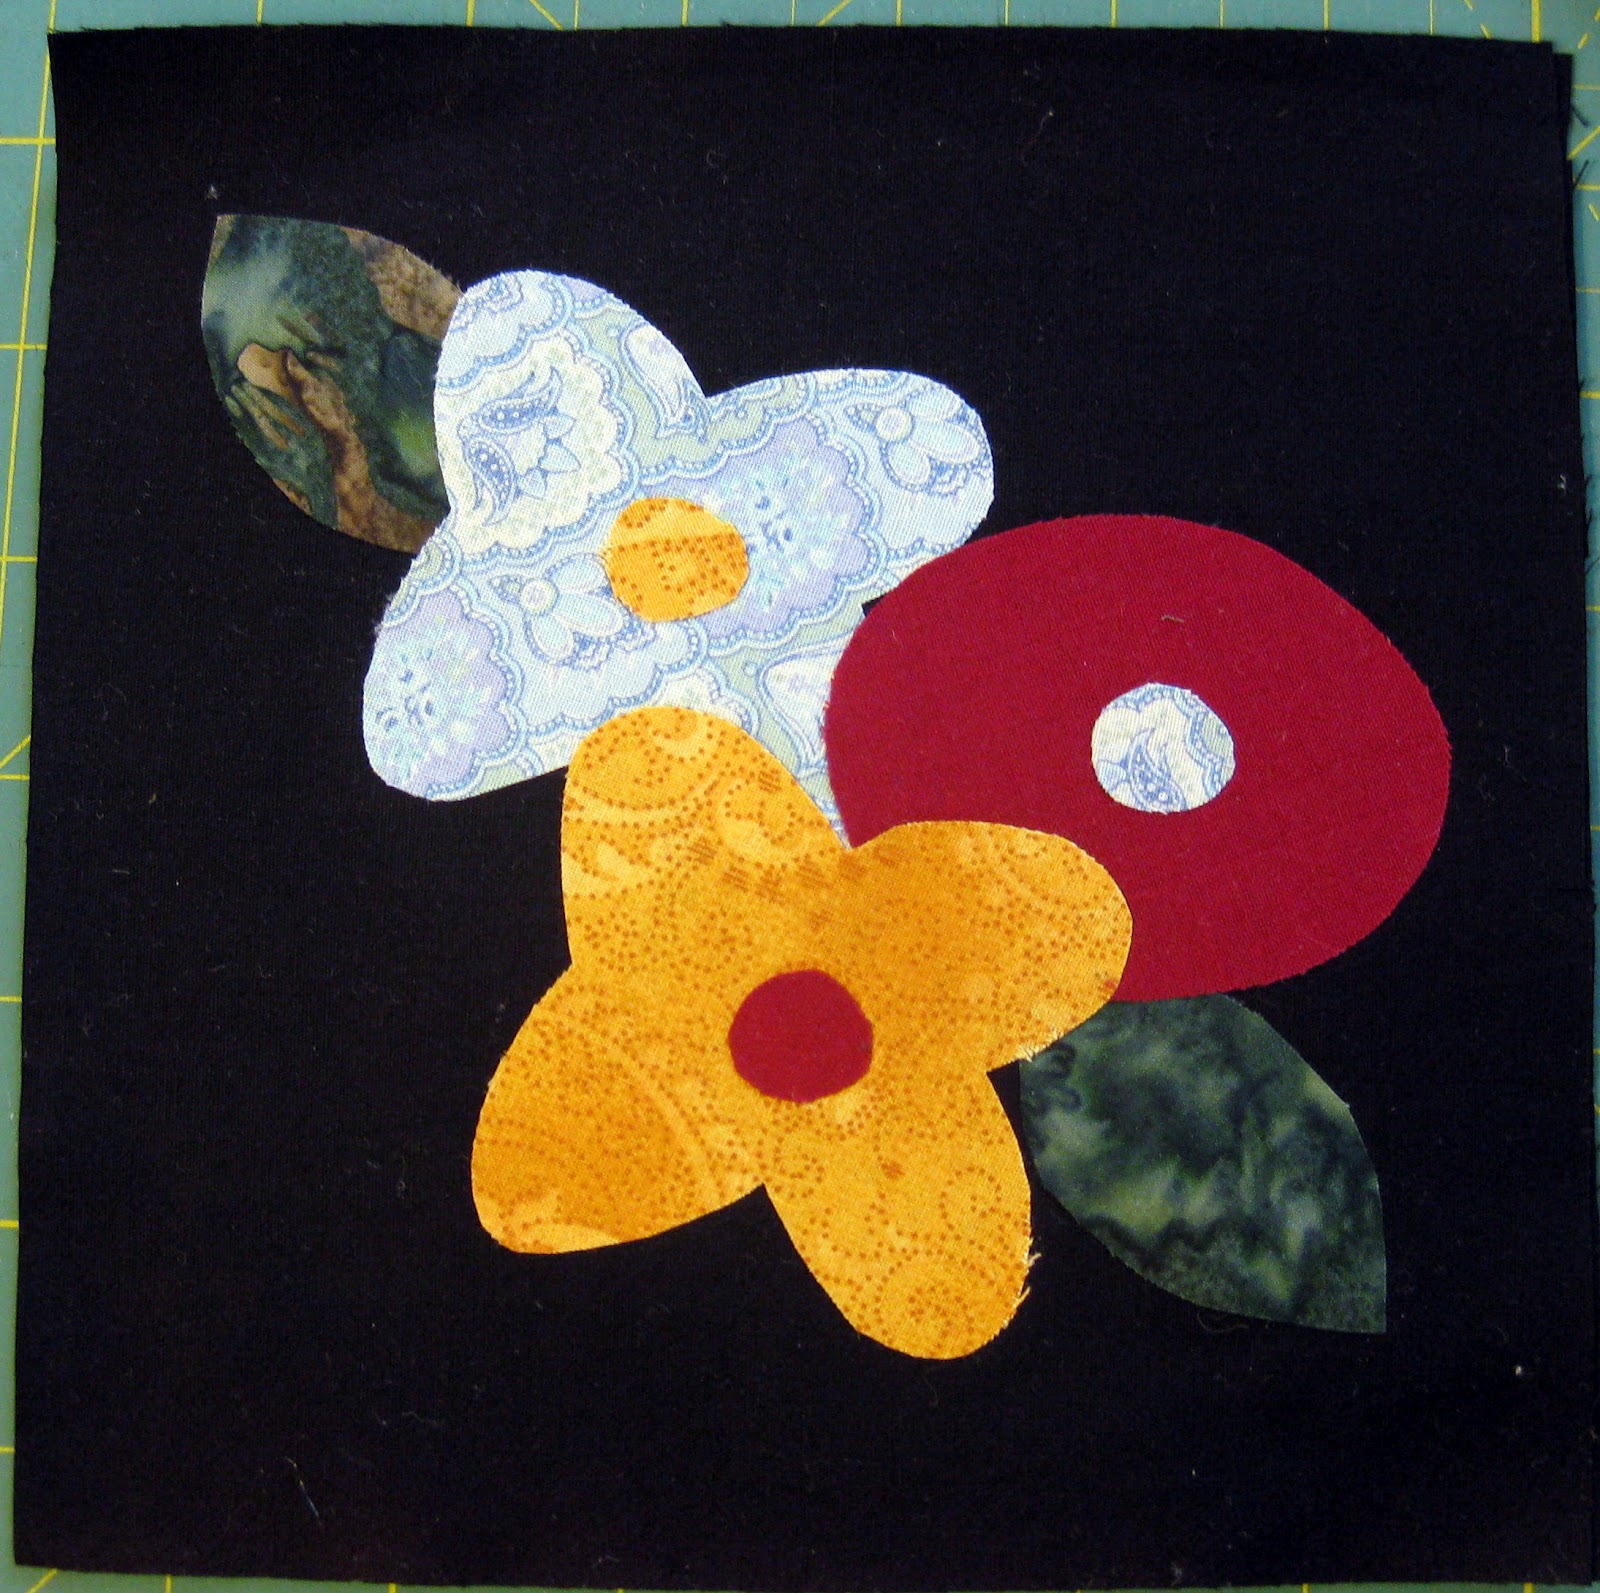
Voilá, my block is done. I have the makings of a new mug rug.
Would love to see your eye candy, applique or otherwise. I like seeing your projects. They inspire and motivate me to think about doing new techniques. You can link your blog post below. TIA!


