First, the linky party to WIPs Be Gone where we share our progress is still open. Ends Monday, midnight. Would love to see how you're doing so we can root you on. It's the previous post to this one.
Second, it's time for the Grow Your Blog event! While I didn't get to join this year, I want to encourage you to go find new blogs
over at Vicki's and meet a lot of wonderful bloggers there.
Many of the participants have giveaways! And it's so much fun making new friends out there in the quilting world. In honor of this annual event, I'm giving away a book about (what else) applique.
Beth shows you in detail how to machine applique. It includes 9 lovely projects plus templates. There are several ways to win this book. Leave a comment telling me of a new blog I should visit from the hundreds at the Grow Your Blog event for a chance. Or visit Linda
here and leave a comment for her on her Ghost Quilting for another chance. Then tell me you visited and what the pin cushion is used for and have a third chance! Good luck! The giveaway will end same time as the Grow your Blog - I will ship anywhere.
On the home front - I used another two yards in making another B
3 quilt. That makes a total of
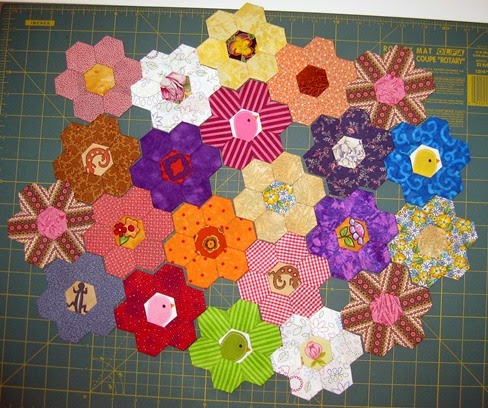
9.88 yards used for 2015. These 30"quilts are so much fun! More on that Friday. I'm still working on my hexies. Here they are in a group shot - well most of them:
Six not shown and 10 to go!
And lastly there's something new on my design wall:
Two more pieces to finish the border on this charity quilt.
I'm linking to Judy's
Patchwork Times, Lyn's
BOMs Away, and Esther's
WOW. See you there!