
Stash Report 2/13/11
I actually shopped this week - on Monday - and bought some fabric: 2 yards of solids for my secret blocks, 1 yard of prints for my secret blocks, and 1.5 yards for the back of a charity quilt. I did use some of it - phew. It's not just like I was using it to bolster my stash - lol. And from my stash I actually pulled some out and used it for charity quilts, so here are my numbers.
Used/Donated this week: 3.5 yards
Used/Donated Yr to date: 11.59 yards
Added this wk: - 2.25 yards (not counting the 1.5 for CQs and adding back .25 left over from backing)
Total Yr to date Added: -3.5 yards
-------------------------------------------
Total Yr to date Used 8.34 yards.
Over at PatchworkTimes, Judy has posted the state of her stash and let others also do so. Check it out.
Quilt-Along Step 4
Step 4:

 Note: Here is a photo of how I fold the quilt in an accordian pleat (the part that would be on my lap) to make machine quilting easier. It is weight that makes it difficult to quilt, so try to keep it level on your lap and left side. Hanging over the sides makes it harder to quilt evenly.


1. Take row D and measure its length. Mine was 30 1/2" long. My row C is now 30 1/4" long due to the quilting - Remember when I measured it in step 2 and it was 30 1/2" long? I'll be able to stretch row C (I'll pull on the bottom a little in whatever square needs it.) the quarter inch to make the seams intersect and the vertical rows to match. Here is the new row next to the one I've quilted"

2. Put the new row wrong side up on your quilted row. Check that the seams on the row you are adding are pressed the opposite of the first row. Match the seams and pin. Roll up the quilt on the right side as before.
 Note: Here is a photo of how I fold the quilt in an accordian pleat (the part that would be on my lap) to make machine quilting easier. It is weight that makes it difficult to quilt, so try to keep it level on your lap and left side. Hanging over the sides makes it harder to quilt evenly.
3. Starting at the top, and using a walking foot, position your quilt to start stitching after bringing the bobbin thread up to the top of the quilt. Sew your seam with a steady speed - remember the walking foot is doing the pushing, not you.

Here is my added second row smoothed over the batting.

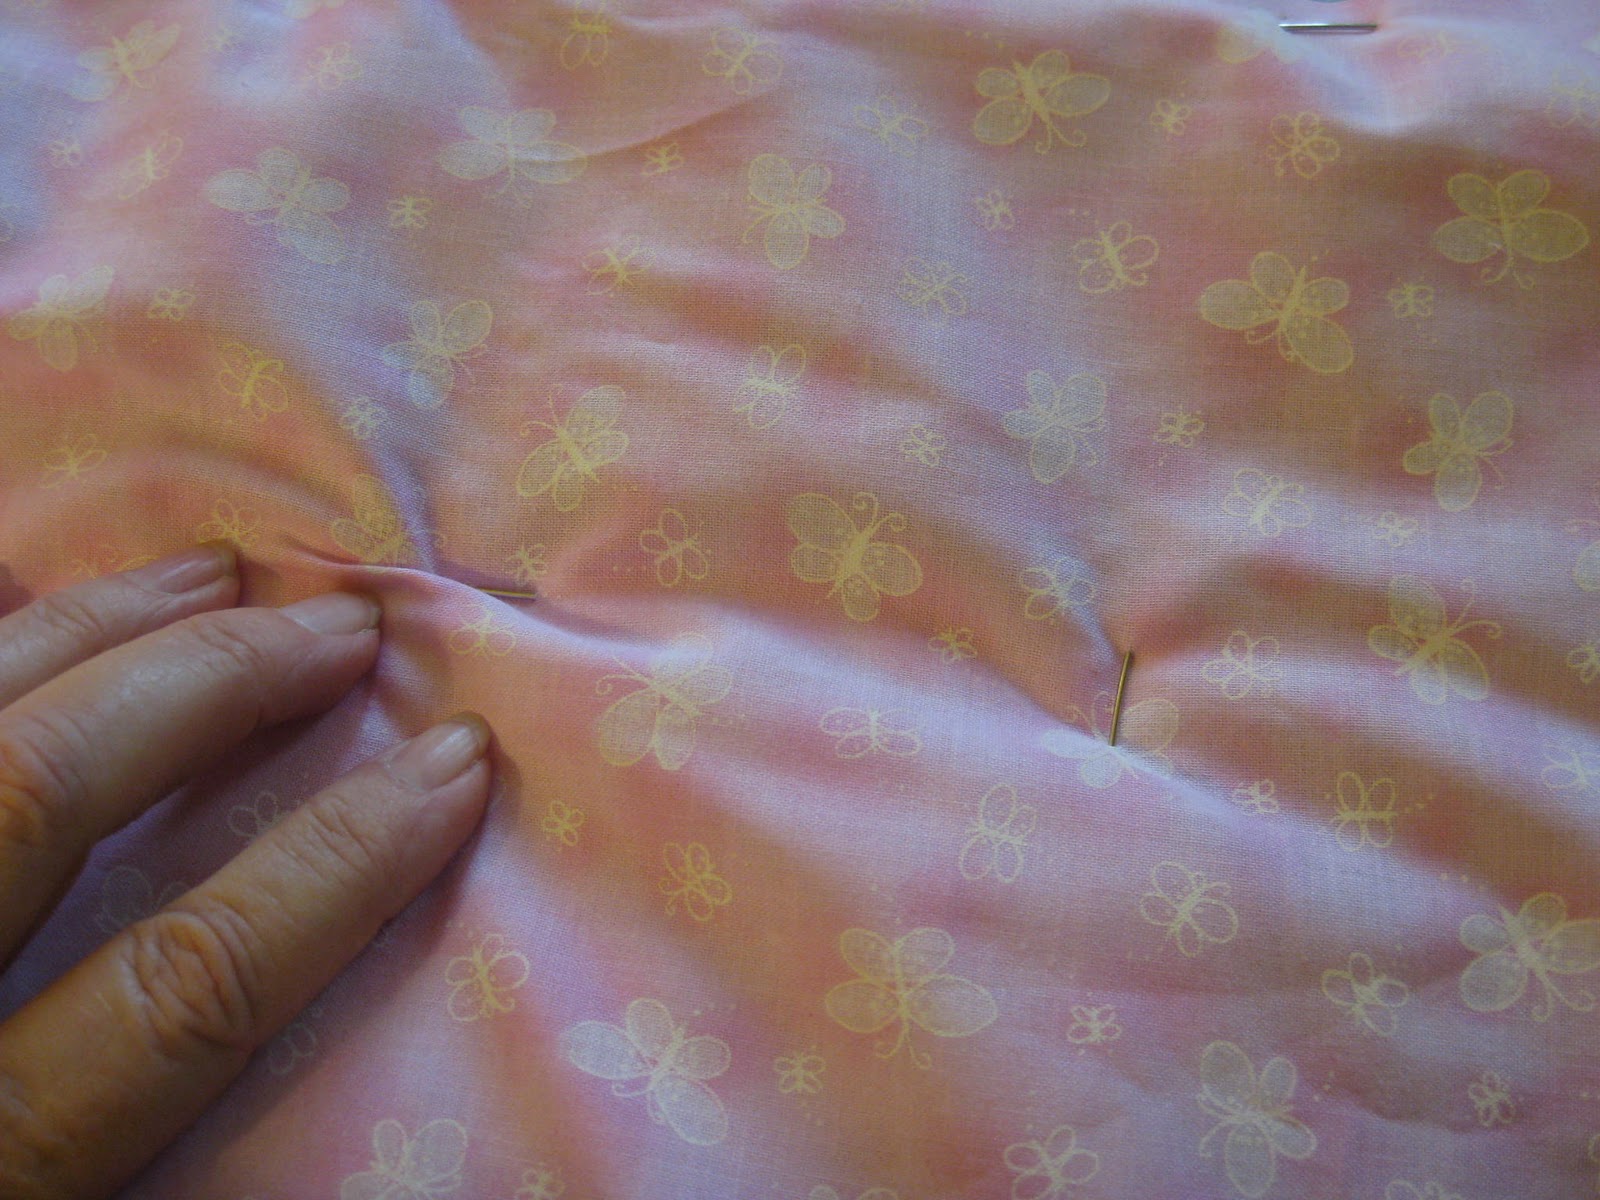
4. Next we pin baste the row before quilting. Lay the quilt with the new row on your left( if you're right handed). Gently pull the two layers away from the seam you just made and pin the row down:

This will keep wrinkles from forming when you quilt it. Once you've pinned it turn it over and run your hand over where you will quilt. Photo below shows you a wrinkle I found on the back.
I remove the pin, smooth out the area and reset the pin. You might have to do a few of these. And when you turn it over, check the front also that it's smooth. Quilt your added row as before. You now have the technique in full. You can do all the remaining rows in the same fashion, just flip the quilt when you are done with the right side, and do the rows on the left starting your seams at the bottom of the vertical row. This keeps the bulkiness of the quilt to your right. I'll post again next Thursday with the borders and to give you time to do your rows. But you can email me any questions whenever you like. See you then.
 You now have the technique in full. You can do all the remaining rows in the same fashion, just flip the quilt when you are done with the right side, and do the rows on the left starting your seams at the bottom of the vertical row. This keeps the bulkiness of the quilt to your right. I'll post again next Thursday with the borders and to give you time to do your rows. But you can email me any questions whenever you like. See you then.
Subscribe to:
Posts (Atom)
Another Flimsy
I'm making the Raincross Quilt Guild's Block of the Month into baby quilts each month instead of blocks for an eventual quilt. Why? ...

-
 Yesterday was a tad difficult. Not only did I have the fun of having both boys here, but my TMJ and allergies were acting up, it got to...
 -
 Hello! My name is Angie and I love to quilt, read and garden. Come February 28th, 2014, I will have been blogging for 5 years. I can...