Showing posts with label QAYG. Show all posts

I'm back from last Summer 2019 Vacation.

and almost nothing done with a needle.  What I did do was hand stitch a sleeve to this 2008 quilt.
It's my china plate quilt about 45" by 55".  It would have been longer,  but I forgot to put a white strip above each row of dishes.   Didn't notice till the top was all done.  I quilted the letter N in each center of the plates.  This was a quilt as you go project. Now it can hung on a wall.

So of course my stitching time has changed very little. Here goes:

15 minute days/week = 2/7 days
15 minute days/August = 12/17 days
15 minute days/2019 = 165/231
Success rate = 71.43%

 Destashed .03 yds with that sleeve, so YTD total is now 44.56 yards. I'm linking to Sunday Stash, 15 Minutes to Stitch, and Slow Sunday Stitching.  Hope you did better than I. PS had a great time in Colorado - will report on that this Thursday.  Blessings,

Design Wall/Floor Monday

Back from the retreat - what a great time we had - again!  This time we didn't have a mystery quilt, but lots of make and takes.  I chose not to do all of them and instead concentrated on working on some UFOs I brought along to finish or get further along with. The first project consisted of my leaf mug rugs - I'll show those tomorrow in Applique Tuesday.  I then did:
 This was a panel I was given at the last St. Anne's meeting.  I just needed to bind it.  Er, that's what I thought as it was pre-quilted. But!  The panel sides had to be evened up.  You can see how that went. I'm sure baby won't mind.  Then I had to make the binding from assorted reds. Had just enough. Used a new method to attach the binding using an s-curve stitch.  It went great.  I'll demo that in another post. Then after a good look at the quilting, discovered that it's coming undone at two ends so that needed to be fixed, too.
 Next UFO was an 8 year old one for which my niece chose the fabric, laid out the order of the blocks, then left for me to put together.  Well, it is now done.  I call it Medallion Cherries.
 I then tackled the hardest - yes, the hardest UFO.  This was a bag of blocks, fabric and batting and backing squares from an estate sale.  The project dates from the 50s. At least that's what I think because of all the polyester and cotton fabrics and the prints. The quilter had made 6 blocks plus the makings for 4 more plus a ton of cut strips for many more.  I measured and they ranged from 14.5 to 13".  Of course I cut them down to 13.  She had made the blocks for a QAYG quilt.  This would usually be easy peasy for me, BUT she use a very high loft polyester batting - typical of the 50s.  After making 3 more blocks, I started to put them together.   Ugh, first  attempt using the no front sashing method did not work. The seam was a mess because of the batting and trying to sew through so many layers.  After some thought, I decided to use the sashing on both sides method and baste the individual parts together - ie sashing strip and left block, then sashing back strip and next block.  Then I sewed the blocks together with a larger stitch - 3 instead of my normal 2.2   You can see the first row at the top of the photo.  Will be 39" square when done.
 I did make this Make and Take.  Just couldn't resist.  Went together so neatly and I love my little box.  This starts as two 8 1/2" squares of fabric.  The ladies were told to use 10" squares, but I only had enough to make the smaller one.
As I make the other Make and Takes I'll share them with you.  Even though this was only my second one, my conclusion:  I love going on retreats!

I'm linking to Judy's Patchwork Times and Lyn's BOMs Away as I did deal with blocks.
Blessings as you start this new week.

Design Wall Monday 3/18/13

I'm babysitting tomorrow -all day, so I'm posting this early.  Up on my design wall is the next row of the BOM quilt waiting to be attached to the QAYG sandwich - no joining strips on this one and a solid backing. Here's what I did Sunday:
I took the sandwich part to the machine.  Here it is as I got ready to start earlier today.  As you can see I don't have a lot of quilt around the machine.  It's amazing how less there is to push around with only have of the batting in the way.  I decided to echo quilt a few times around the cross and quilt cloud shapes in the sky.  Since our Mt. Robidoux is rocky, I made large pebbles on the mountain.
Here you see that finished block and the next one I have to work on.  I decided to make wavy lines on the sky to denote wind and straight lines with an occasional plant in the beige areas to represent our semi-desert terrain around Riverside.  The diagonal element is the Gage canal that runs through the region and brought water to the Riverside orange groves.  Last to do is the Navel orange - first grown in Riverside.

What's on your design wall?  Go on over to Judy's Patchwork Times and Lyn's BOMs Away and see what others are working on. 

Stash Report 3/17/13

Happy St. Patrick's Day!  I have a good number to report.  I used 5 yards for the back of my BOM quilt - 150% more than the average I need per week to meet my goal at year's end.  Here are my numbers: 
This week:  in 0.0 yds.; out   5.00 yds.
Stash YTD: in 3.0 yds., out 23.63 yds.
Donated this week: 0.0 yds; YTD: 8.09 yds
Net for 2013: out 20.63 yds.

I'm moving along! 

And now what I got done yesterday.   You saw the back I made on the last post.  Here is the start of my QAYG for this quilt:
 First, I measured and calculated how big my batting had to be based on the back I had just made. To lessen the bulk of this quilt so I can more easily quilt it, I cut the batting in half horizontally.  Then I laid down the back which I had ironed and smoothed the top half of the batting on the top half of the back. I then pin basted the back and batting to the carpet so that it would be smooth.  Next I finger pressed the center of the first row that has the first sashing row attached to it. I then placed it on the center mark of the batting making sure it was the 10" all across the top to allow for the borders I will add later(plus 2" extra of batting and back). I then pin basted the row to the sandwich.  Here it is all basted with the back showing at the bottom.  Ready to quilt!
 

3RD UFO done!

I'm so thrilled that I actually got another ufo done.  This is my completed coverlet.  It is made all from scraps(the pieces around the main block and the applique), orphan blocks (the dresden plate block), swap blocks( the two rows of nine patches and four churn dash) and yard sale fabric (the back is an old curtain I picked up at a garage sale).  It's going on my bed in the summers for a light covering.

A coverlet has no batting, so I opted to construct this by the stitch and flip method.  I centered the main block in the middle of the curtain and built the quilt from there. So it was quilted as it was assembled - a different kind of QAYG.  I should have appliqued the strips before I sewed them in place.  You can hear paper crinkle inside the flowers as I couldn't cut it out because the back was the finished product.  Oh well - not that much applique that it is a bother.  I brought the back forward for the binding - my first medallion quilt.

WOW -Fabric Tuesday 12/13/11

The Two Color Challenge is done!

I was beginning to think I'd never get it done.  So glad I was wrong.  Am very happy with it.  Thank you Deanna for working on this with me.  I found this block which I fell in love with in a Fons & Porter quilt project (well, it was in their mag) and came up with the setting.  She made the machine embroidered bouquets, provided just the right red material when I was cutting all the pieces, pieced the squares so I could sandwich and quilt them, and helped with the hand work.

 If you click on the photo you can see an up close view of them and the quilting motifs.   Measures 51" square and was made using a QAYG method.  Here is the back:

We won 2nd place in our Guild's Two Color Challenge.  We still have to go the quilt store for our winnings, Deanna - LOL. 

This quilt is why I've been thinking of other colors for Esther's Red December present.  You should hop over to her WIPs on Wednesday (WOW) and see what others are doing with her wonderful patterns!  And don't forget to go to Quilt Story's Fabric Tuesdays to see what other eye candy is linked there.  Both are in my right sidebar. Enjoy!


A Different QAYG

As quick as the Quilt as you go is when you piece the back,  I didn't want to do any hand sewing on this one which would slow me down as I had a strict deadline, so I decided to do this one with the batting sectioned but not the top or backing.  So I made the back and got ready to quilt.  Here is the quilt back laid out and lightly stretched ( I do this by pinning the back to the carpet: first top, then bottom, then left side, then right side).  Then I laid the first piece of batting over the center diagonal section.
Sorry, I forgot to take a picture of the next step, but I laid the central panel of the quilt on top and pinned it in place, and roll up the sides, then quilted it staying 1/2" away from the seam line.  This way there was very little in the throat of the machine.  Oh, yes - I made the batting sections a little bigger to facilitate the piecing of the batting later.  I really puzzled over how to quilt this, and then a light bulb went off.  Since this was a quilt for an Old Testament Studies professor, I quilted flames in the center reminiscent of the burning bush in Exodus and did a meandering pattern in the siggie blocks as did the Chosen People those 40 years in the desert. For the next section, I placed the next part of the top right sides together on the middle section  and pinned them and sewed this seam with the unsandwiched backing rolled to my right.  If you have this well pinned, use the walking foot, there won't be any puckering. 

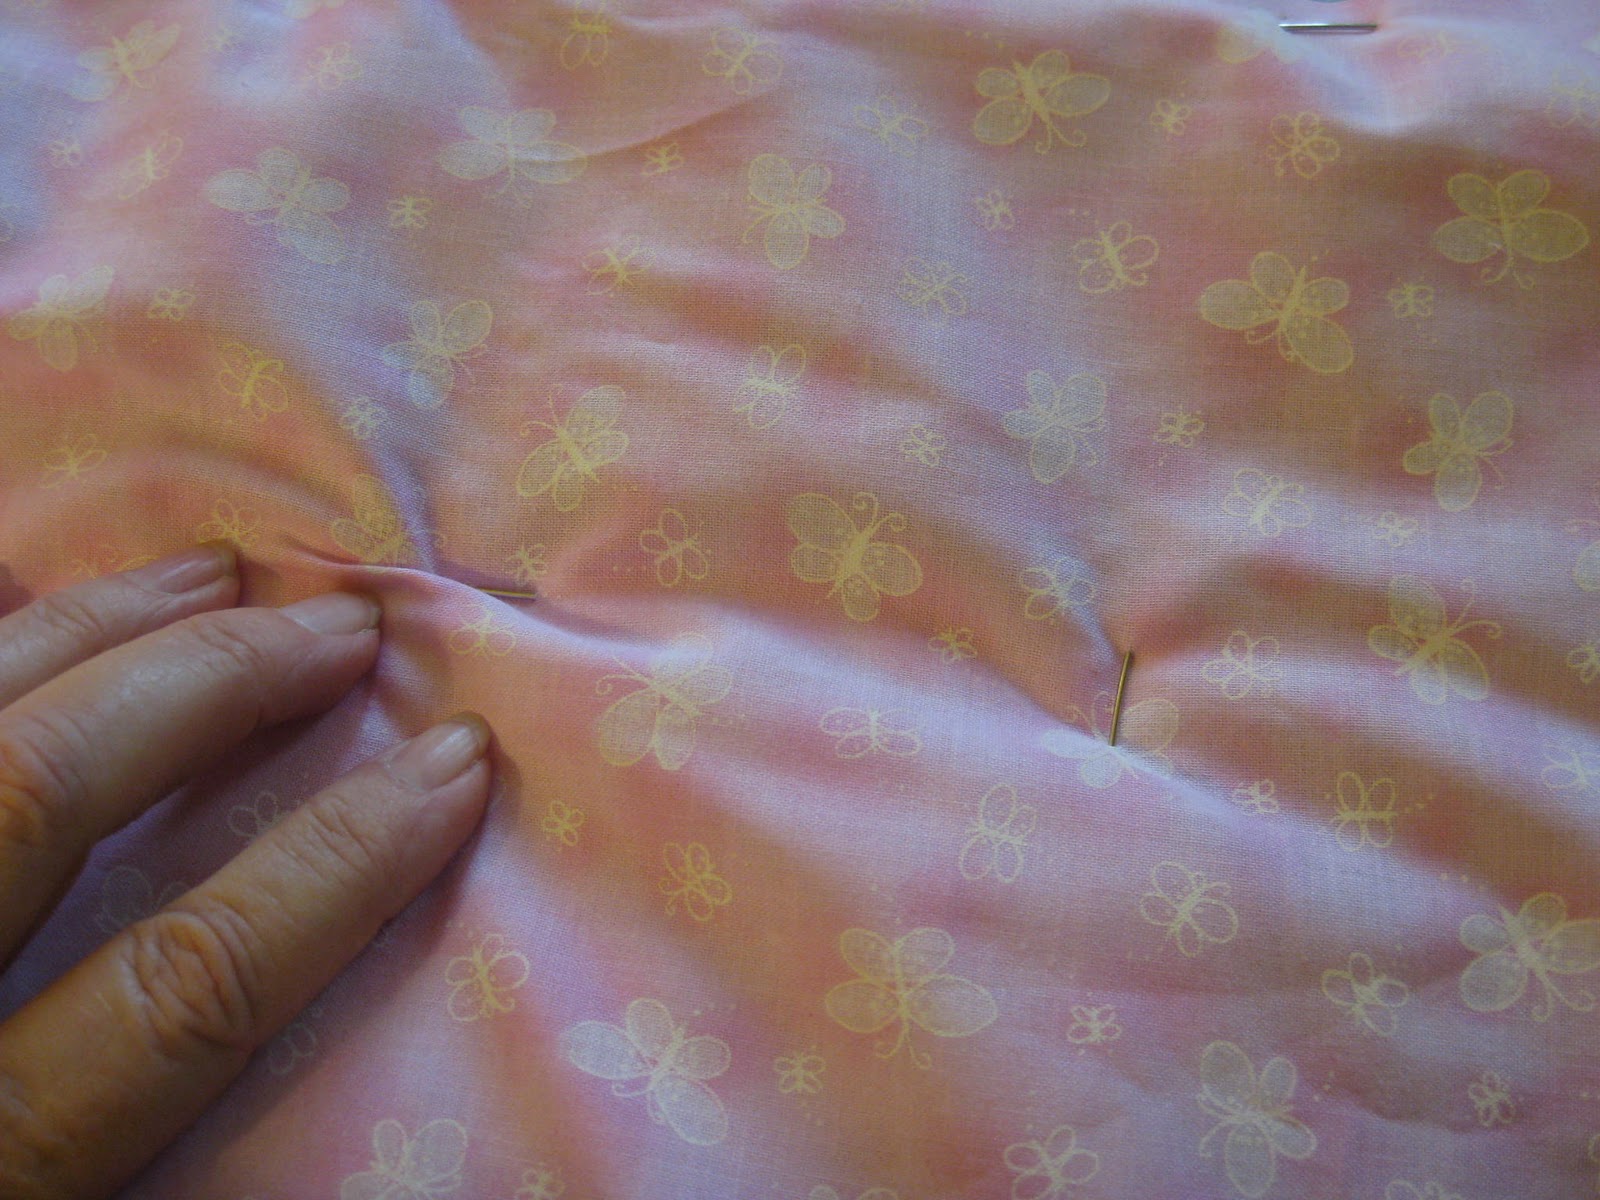
Then I overlapped the next batting at the seam and pin.  Once this is done, I take it to my cutting table and pull the backing under the triangled top so that all I see is the batting on the left.  You don't want it in the way  or get cut by accident in the next step.
Take your rotary cutter and over the two overlapped batting near seam cut the batting with a wavy cut line. When you pull them apart the wavy cut will look like this:
Take these two pieces to your ironing boards, bring the back out again and match up the two battings and the separation will mostly disappear.  Here I have them slightly separated. 
Once you have it matched, cut long strips of 1-1 1/2"  fusible interfacing and place it over the two edges.  Iron the interfacing in place.
Your batting is now continuous on this side.  Bring the top part over the batting and pin baste.  Roll up the quilt and start quilting  with the small roll right of the needle.  I quilted the whole side but not the border.  Those I did at the end with a loop pattern. Once that was done, repeated the process for the other side.  I then quilted the borders, and bound it.  Here's the finished 52" square quilt in case you missed it on the previous post.


This is my favorite QAYG method so far.  I will definitely do one like this again since it's completely by machine.

Do click on Fabric Tuesday button on the left sidebar and see what other's at Quilt Story are posting.

A Bump in the Road.

There has been a bump in the road to moving forward in the Quilt-Along.  DH wants the federal tax info by Mar 1 so I'm going to have to set the next step on the back burner while I get that Schedule C done.  Hope sooner than later. For those who may need to get their QAYG done now, adding borders is the same as adding a row, but I add all four before I quilt them.  It's easy as they are on the edge.  Then I bind by cutting off the excess batting and bringing the backing forward and folding in half and sewing it down as the binding.  Pictures to come.

In the meantime - I won the blocks at our Guild for the Scrappy Orphan Posie Block!  Now I have 13 of them to play with - another UFO!  LOL.

Quilt-Along Step 4

Step 4:
   1.  Take row D and measure its length.  Mine was 30 1/2" long.  My row C is now 30 1/4" long due to the quilting - Remember when I measured it in step 2 and it was 30 1/2" long?  I'll be able to stretch row C (I'll pull on the bottom a little in whatever square needs it.) the quarter inch to make the seams intersect and the vertical rows to match.  Here is the new row next to the one I've quilted"
2.  Put the new row wrong side up on your quilted row. Check that the seams on the row you are adding are pressed the opposite of the first row.  Match the seams and pin.  Roll up the quilt on the right side as before.
Note: Here is a photo of how I fold the quilt in an accordian pleat (the part that would be on my lap) to make machine quilting easier.  It is weight that makes it difficult to quilt, so try to keep it level on your lap and left side.  Hanging over the sides makes it harder to quilt evenly.
3.  Starting at the top, and using a walking foot, position your quilt to start stitching after bringing the bobbin thread up to the top of the quilt.  Sew your seam with a steady speed - remember the walking foot is doing the pushing, not you.
Here is my added second row smoothed over the batting.
4.  Next we pin baste the row before quilting.  Lay the quilt with the new row on your left( if you're right handed). Gently pull the two layers away from the seam you just made and pin the row down:

This will keep wrinkles from forming when you quilt it. Once you've pinned it turn it over and run your hand over where you will quilt. Photo below shows you a wrinkle I found on the back.


I remove the pin, smooth out the area and reset the pin.  You might have to do a few of these.  And when you turn it over, check the front also that it's smooth.   Quilt your added row as before.  You now have the technique in full.  You can do all the remaining rows in the same fashion, just flip the quilt when you are done with the right side, and do the rows on the left starting your seams at the bottom of the vertical row.  This keeps the bulkiness of the quilt to your right.  I'll post again next Thursday with the borders and to give you time to do your rows.  But you can email me any questions whenever you like.  See you then.

Step #3 of Quilt-Along

For Step #3 we'll begin with our 38" square of backing fabric.  Iron it nicely, fold in half and iron the crease at the outer edge.  Do this for both sides.  We'll use these small creases to mark the halves of our quilts.   Now I laid the back on my carpet with wrong side up.  Next I placed my 38" square of batting on top of it.  Now I went around the edges with safety pins and pulled the back tight through the batting by sticking the pins into my carpet pad.  If you use a table to sandwich, you can use double sided masking tape about an 1" from the edges of the backing to make it somewhat tight. This is an important step to reduce pleating of your back when you are quilting.

Our quilt has 5 vertical rows of blocks.  Take the middle vertical row (C in my case) and measure it.  Mine is 30 1/2".  Make a note of yours. I centered the row on my sandwich 3 3/4" from the top and bottom and    15 1/4" from side to side.  If you are using 3 rows, use row #2.  If an even number of rows, email me. See photo below. 
You can see the pins on the edges. We left room for the border all around. Now pin your row at the corners,  along the seams and in the center of the block. Once that is done, I take out the pins and pin them all around the edges of the quilt to stabilize the sandwich.  Turn the sandwich over and run your hand on the pinned back to see it if is smooth.

Take your sandwich to your sewing machine.  When I quilt, I use the same thread in top and bobbin, a Microtex 75/11 needle, feed dogs down, a single needle plate, and a open darning foot. I am going to do a large meander over the row staying about 1/2" away from all the edges.  Don't worry - as you add more rows and quilt, you can fill in spaces that may look empty.  This is to anchor your sandwich and get the hardest part of the quilt quilted.

You could also use a foot with a plastic foot. Note:  If you've never quilted on your machine, stop and make a 12" square sandwich to practice.  Pin your sandwich around the edges and one safety pin in the center.  Set up your machine.  Bring your bobbin thread to the top of your sandwich and take a couple of tiny stitches to anchor the threads.  Now with your hands on both sides of the foot - start to sew and use your hands to guide the sandwich going at a steady speed.  When you start to do a curve, slow down a bit so you won't get big stitches.  There are a lot of good how to machine quilt books out there.  I started by quilting small charity quilts and haven't looked back. Hey I've still got a lot to learn, but with the practice, they are starting to look better and better.  That's all it takes - practice.  Here's a site to see a machine quilter in action:  http://www.daystyledesigns.com/stippling.htm

Or you might like to do straight line quilting.  I do all the above but use my walking foot and guide.  See below:
This will give me straight row quilting.  By lining up the guide 1/4:  from the edge I get a straight lines through  all the blocks evenly spaced. Reverse the guide for the other side of the blocks. If you use the edge of the blocks you'll have a nice pattern of spaced lines. Whatever you want to do.  With this method all you need to do is two lines and you're done with the row.

Roll up your quilt on the right side of your row of blocks and place it under the needle.  Bring your bobbin thread up to the top, and take a few tiny stitches to anchor your threads.  Meander at a steady speed over your block leaving a 1/2" free of quilting on all the edges and guiding the row with your hands.  Here is my completed first row - took about 10 minutes.  Ps:  I put the tape from the top and bottom blocks of the row and stuck them to the batting to remind me which end was up.

That's it for this step.  If you have questions, please email me.  See you friday - Thursday is going to be way buzy for me. 
 

Progrees is Made

Progress is made, at least some.  More blocks were added to the baby quilt I was working on (see previous post). More scraps were used. I...